
LCD screen cable
| Spceials to thanks laptopparts101 |

A laptop LCD cable also known as video cable, display cable or screen cable. This cable transfers data signal from the motherboard and video card to the LCD screen. Also, most video cables supply high voltage DC power to the screen inverter.
On the picture you can see a typical laptop video cable. The cable has three ends with three connectors. One end plugs into the connector on the back of the LCD screen, the second end plugs into the inverter board, the third end plugs into the connector on the motherboard or video card.
The top part of the cable runs inside the laptop display panel between the LCD screen and display cover.

The bottom part of the cable could be found either under the keyboard or keyboard bezel.

In order to remove and replace the LCD cable, it will be necessary to disassemble the whole laptop.
LCD CABLE RELATED PROBLEMS
1. The image on the screen appears normal until you move the display up or down. When you move the display, the images on the entire screen starts to flicker, disappear or change collors. As soon as you stop moving the display, the image gets back to normal.
2. The LCD screen lights up but there is no image at all. The entire screen is blank. An external monitor connected to the laptop VGA port works fine, there is no problems with the external video output at all.
3. Image on the entire LCD screen is garbled. An external monitor works fine.
In many cases the video cable failures are very similar to the LCD screen failures.
 | How to remove or replace LCD screen, display video cable, FL inverter board from Toshiba Satellite M35X and Satellite M30X.This guide will work for both models: Toshiba Satellite M35X and Satellite M30X. Both models are similar. Use this guide if you want to remove, replace laptop LCD screen, LCD display video cable, FL inverter board, LCD display mask, wireless card antennas.
| |
 | STEP 1 First of all, remove the laptop battery. Remove two LCD mask seals. Remove two screws hidden under seals. | |
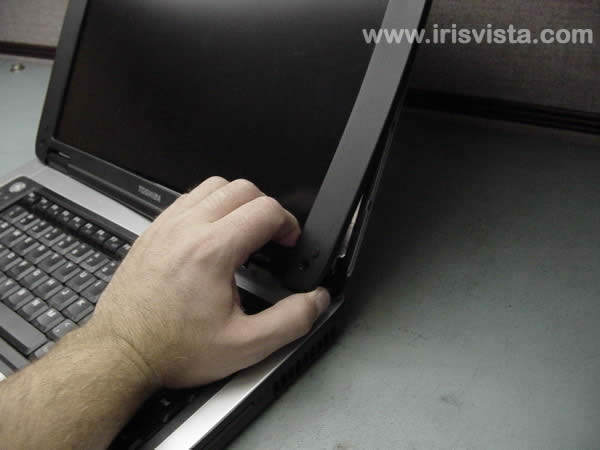 | STEP 2 Put your fingers between the mask and the LCD screen. Work with your fingers to release the LCD mask plastic latches. | |
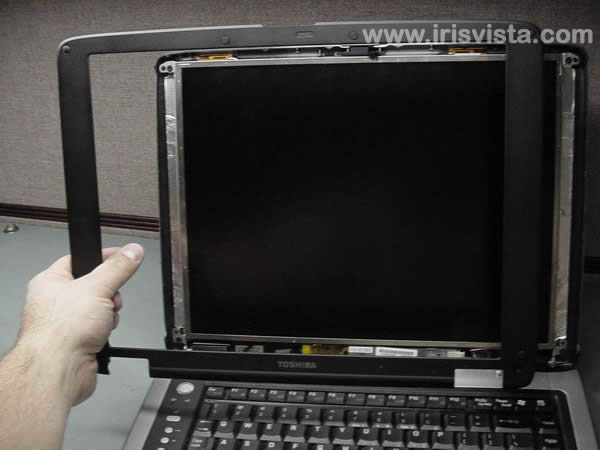 | STEP 3 Remove the LCD display mask. | |
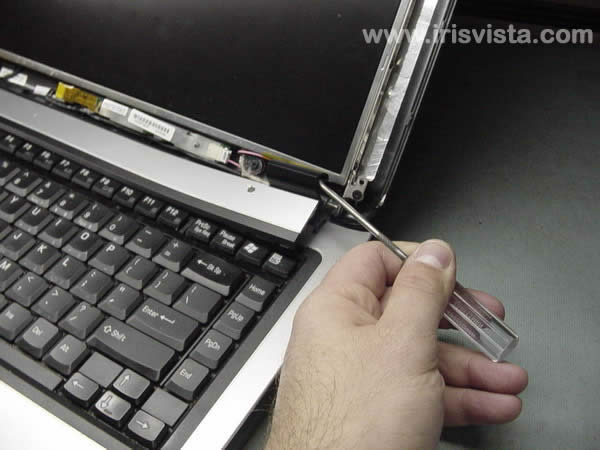 | STEP 4 Insert a thin object under the securing strip and lift it up. Be careful, it may be very tight. | |
 | STEP 5 Remove the keyboard securing strip. | |
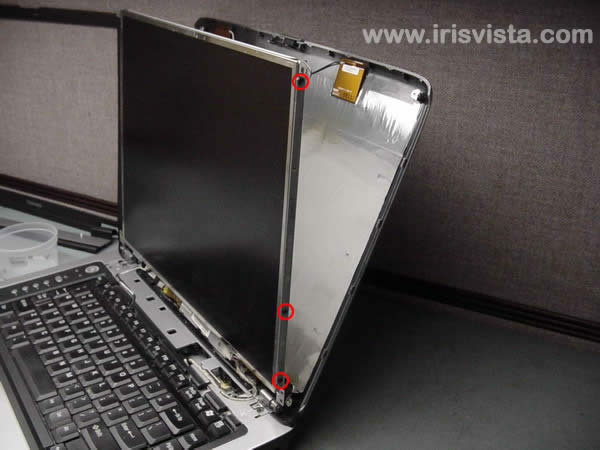
 | STEP 6 Remove two screws securing the screen to the LCD cover. | |
 |
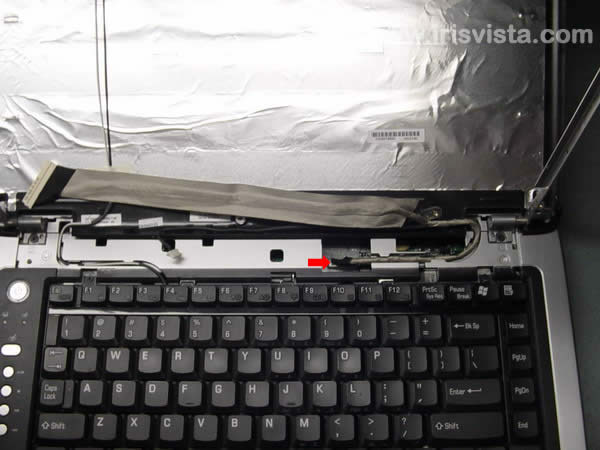
 | STEP 7 Remove a securing tape from the display video cable. Disconnect the LCD cable. | |
 | STEP 8 Remove three screws on each side of the LCD display. Carefully place the LCD display on the palmrest. | |
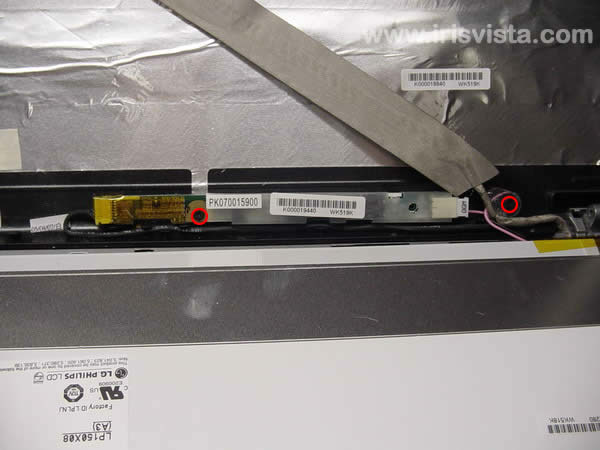 | STEP 9 Remove two screws securing the FL inverter board and the LCD display video cable. | |
 | STEP 10 Disonnect cables on each side of the FL inverter. | |
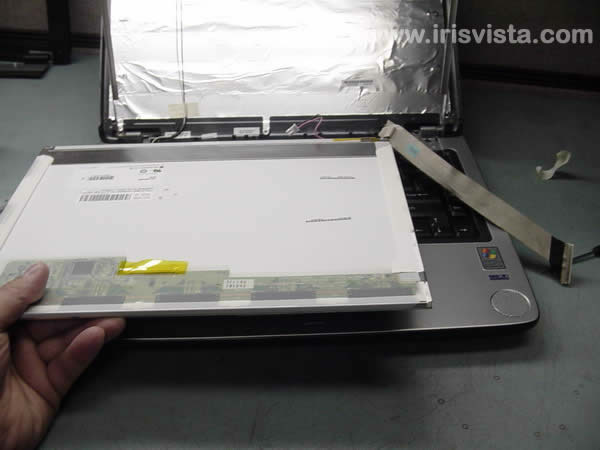 | STEP 11 Remove the LCD screen. | |
 | STEP 12 Disconnect the LCD video cable on the system board and remove it. Are you looking for a replacement LCD or other display parts? You'll find them here. | |
 |


Tidak ada komentar:
Posting Komentar